This page has been translated with google translate, there may be errors in the stories.
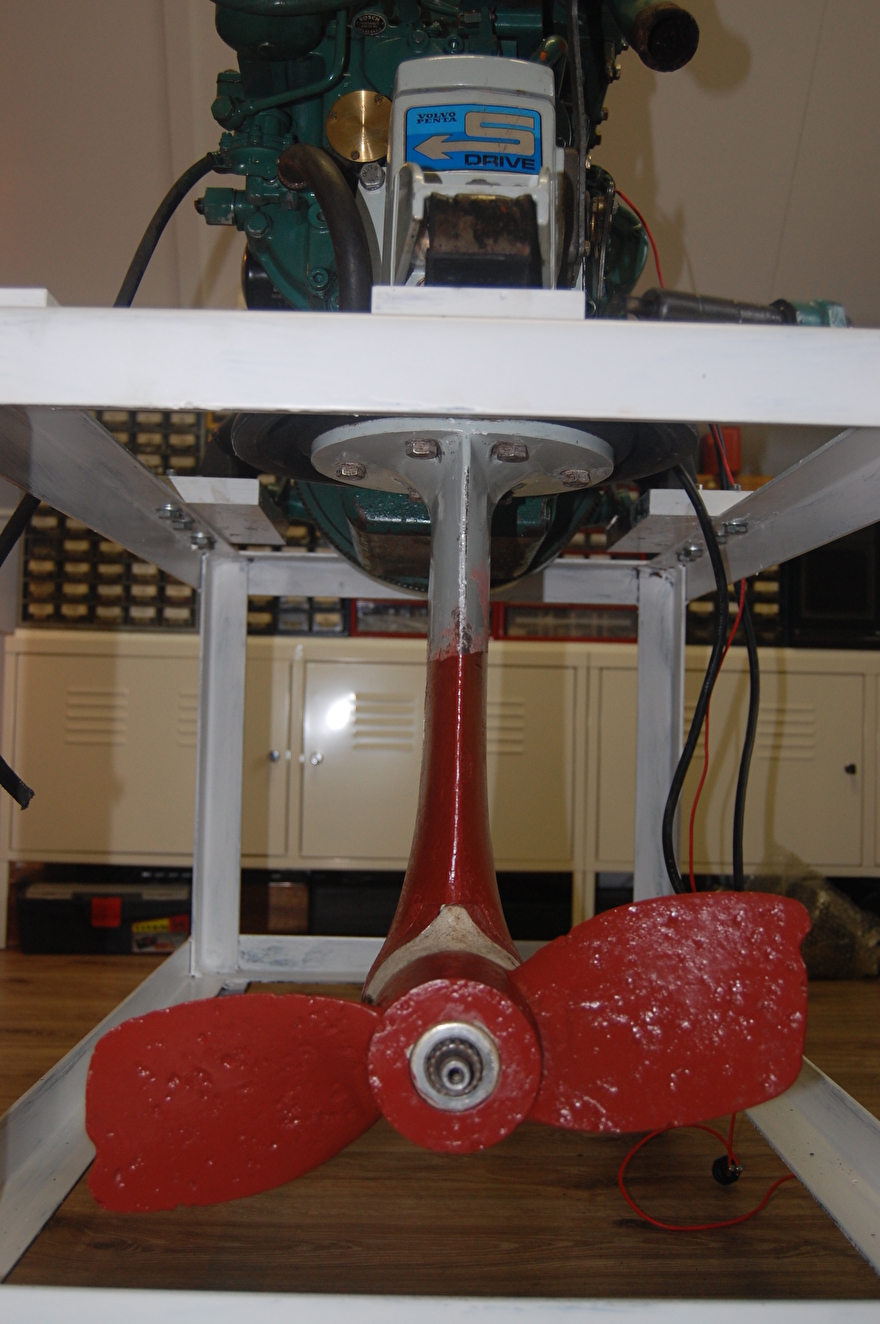
Sooner or later every sail drive owner will have to deal with it; "Water with the oil". This is because the water seal on the propeller shaft no longer seals properly.
You can find parts for the Bukh sail drive in the online store
You can find parts for the Volvo Penta sail drive in the online store
You can find parts for the Yanmar sail drive in the online store
Replacing the water seal and oil seal is not that difficult and I will explain step by step in this story.
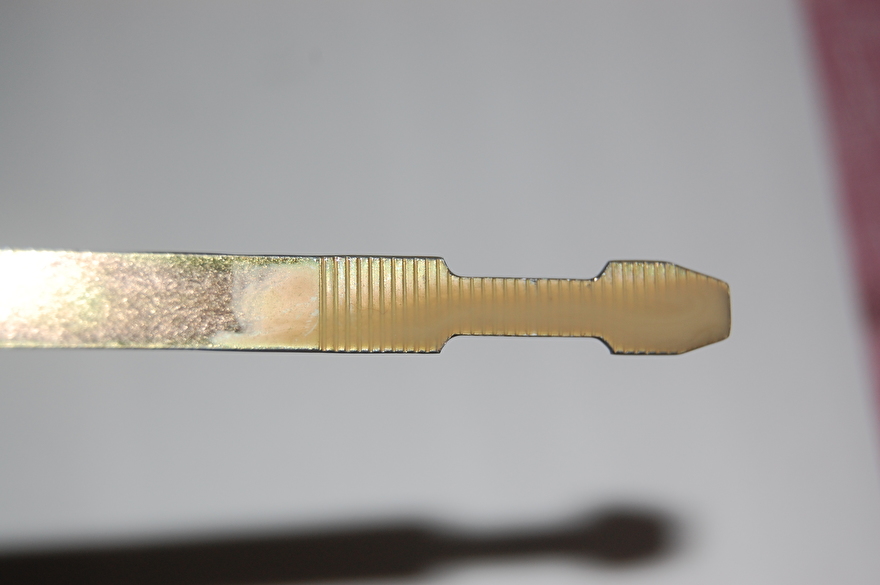
Mayonnaise on the dipstick, oil mixed with water.
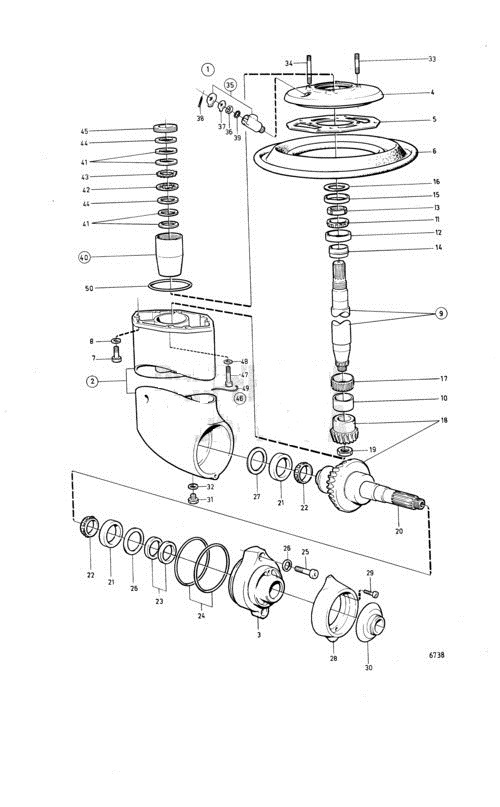
The seals are part 23 in the drawing.
Step 1.
Drain the oil by removing the drain plug. Caution !, use a suitable screwdriver, otherwise you may break the screw.

Step 2.
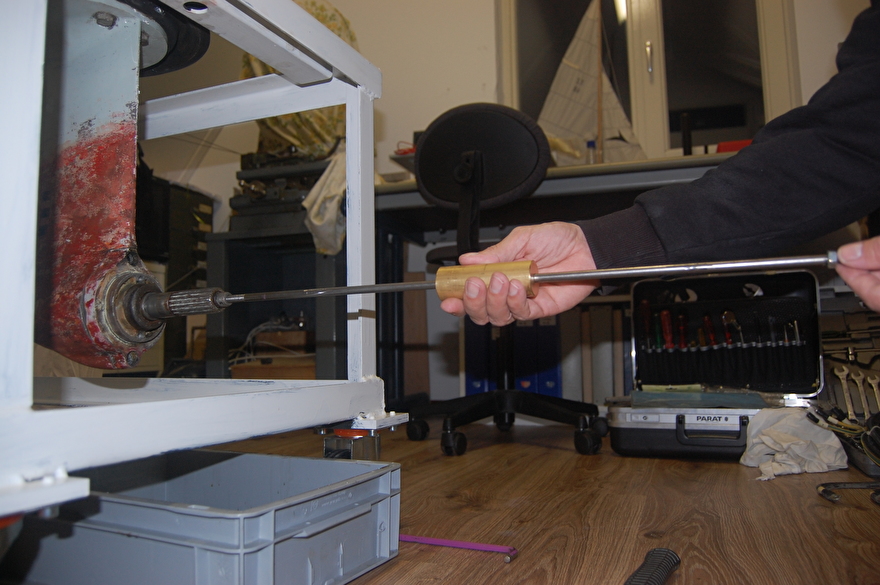
Remove the Allen screws from the propeller shaft housing (8mm Allen key) and lightly tap the flange with a plastic mallet while pulling the propeller shaft. If you do not get the flange loose from the housing, make an iron.

Step 3.
Insert the propeller shaft into the vise and loosen the locking bolt with a pipe wrench and loosen the large nut. This nut is usually not very tight, but if this is the case, you will need a spanner 63. You could make this yourself from a piece of flat bar material.
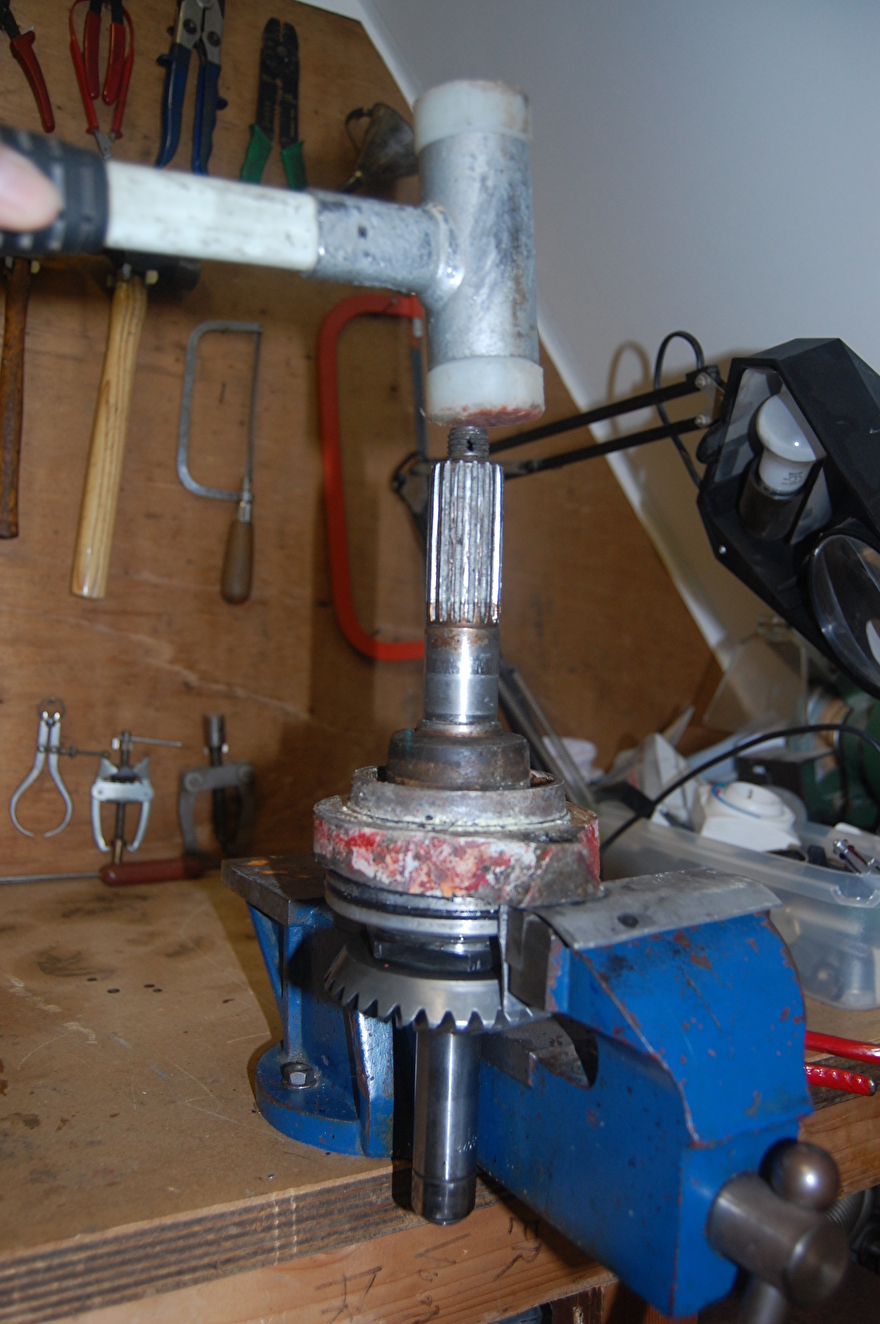
Step 4.
Turn the propeller shaft over and tap the propeller shaft out of the housing with a plastic hammer.
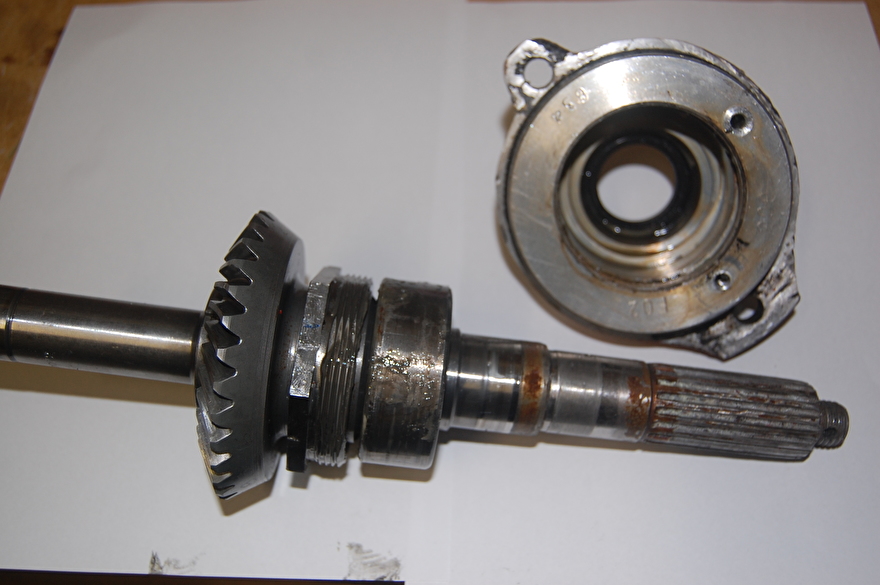
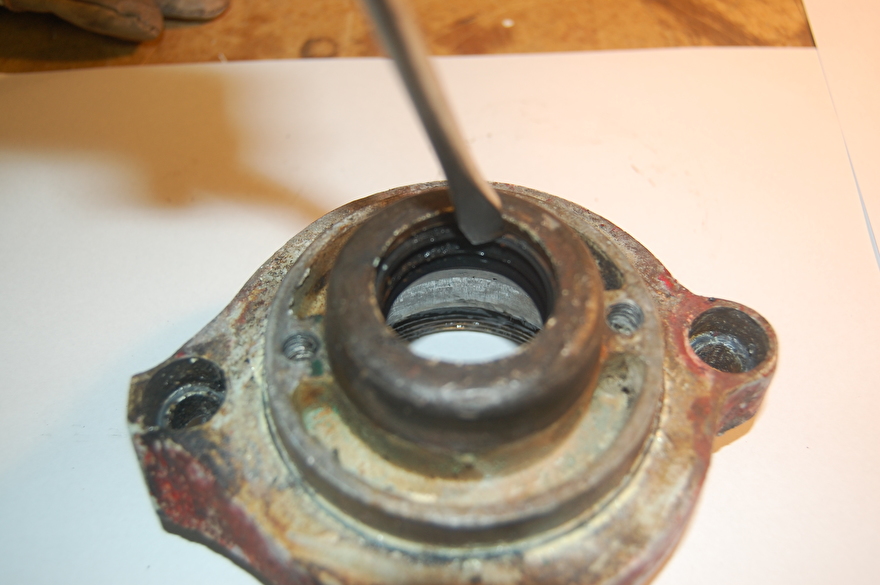
Now that the propeller shaft is out, the next step is to see why the seal has leaked.
Reason 1. The seal is simply worn out.
Reason 2. The propeller shaft is worn and the seal no longer seals properly.
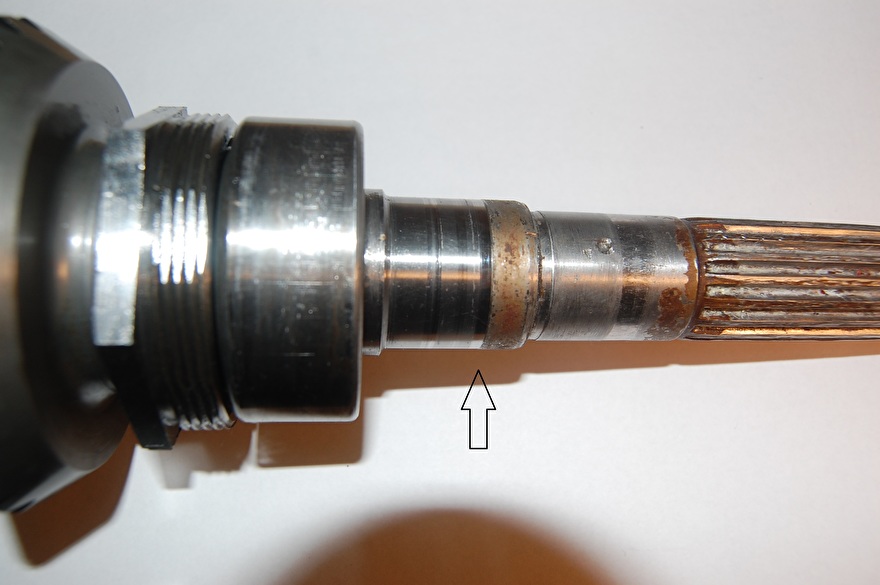
In this case there is a groove where the water seal seal should seal (see arrow).
There are several ways to repair this damage to the tread, including hard chrome plating or installing a Speedi Sleeve.
I chose the latter because it is the cheapest and most commonly used solution to this problem.
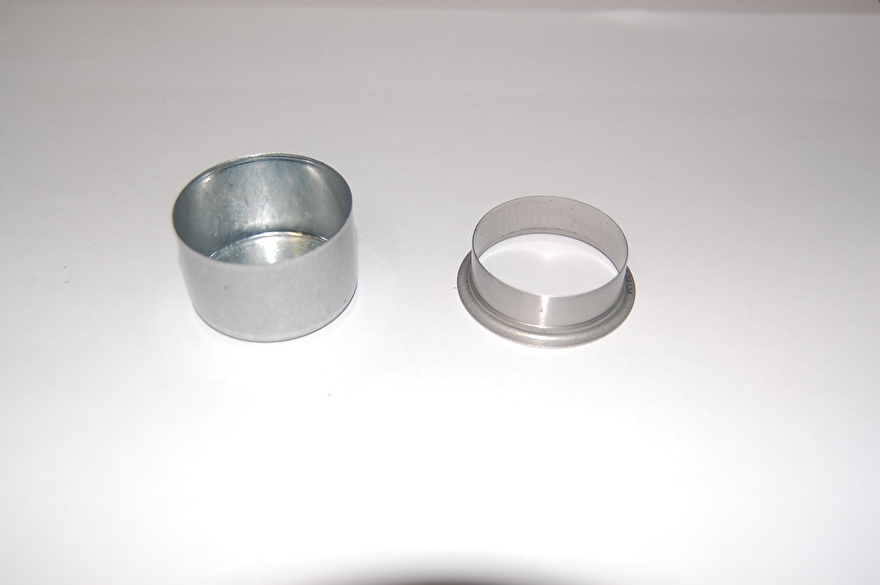
A Speedi Sleeve is a thin stainless steel sleeve that you tap over the propeller shaft with an associated tool. The advantage is also that you can simply place the normal seal that was on it.
The Speedi Sleeve and other parts for overhaul can be found in the Web shop of this site.
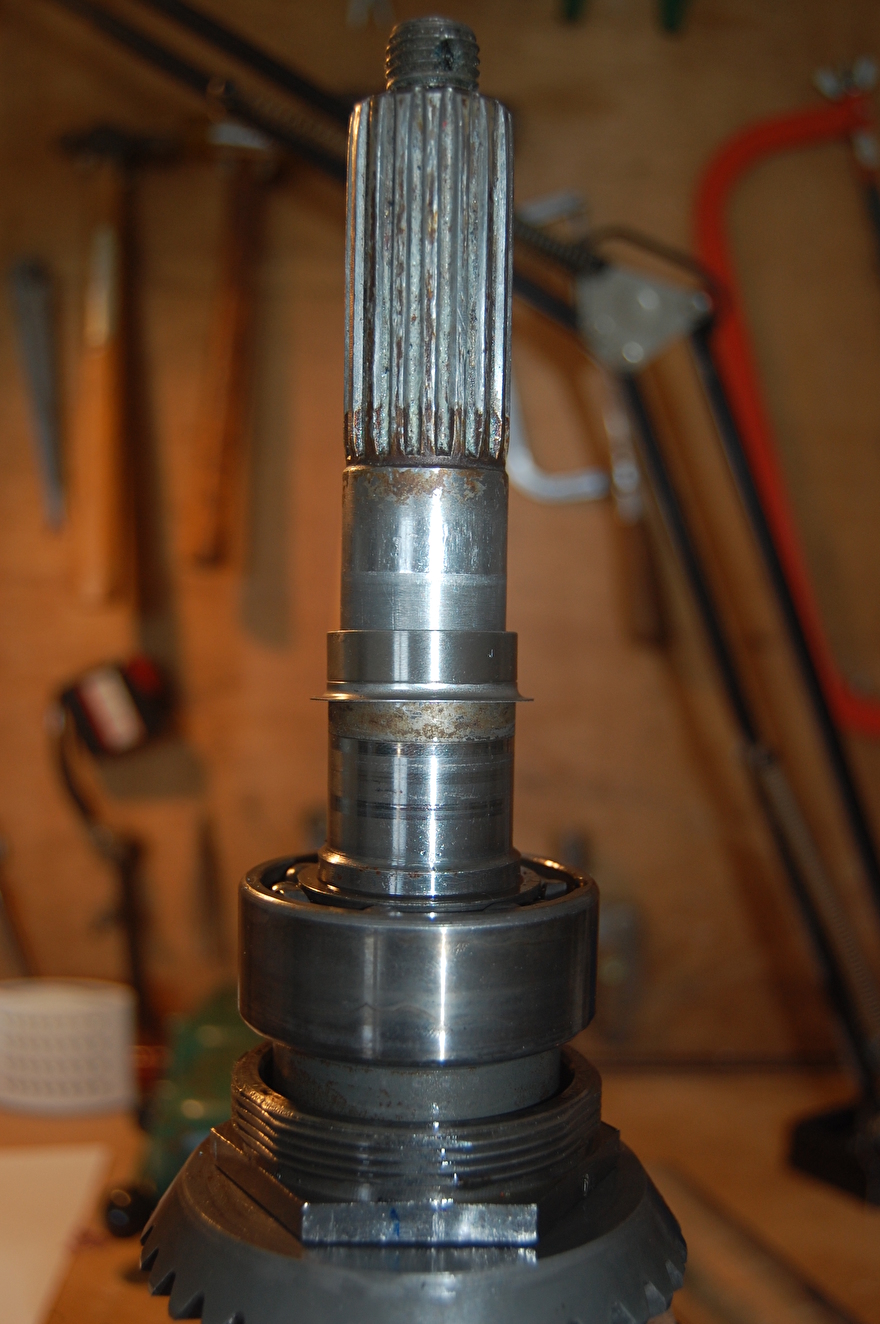
Step 5.
Clamp the propeller shaft in a vise, make sure you use soft jaws so that you do not damage the propeller shaft and slide the Speedi Sleeve over the shaft.
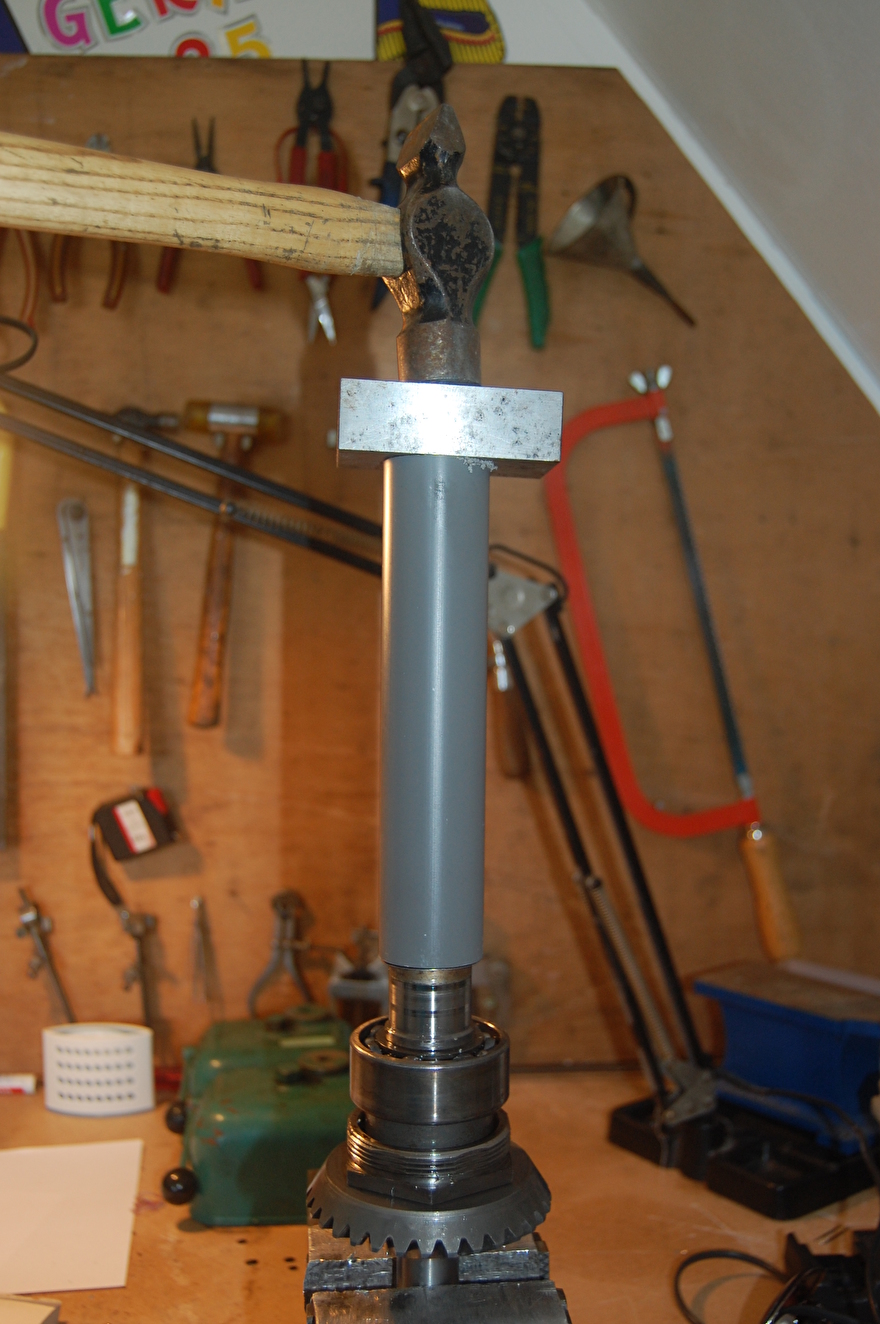
Step 6.
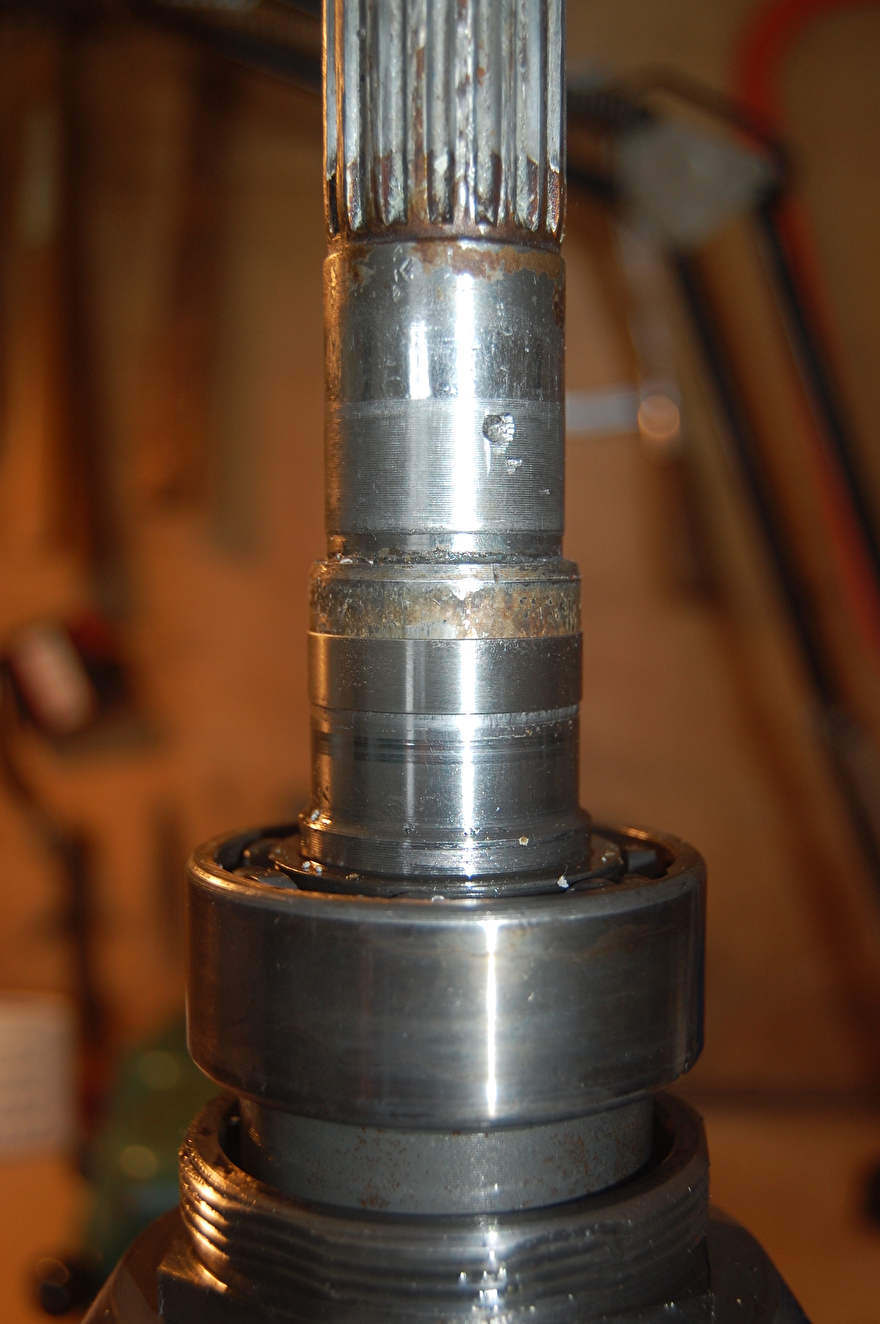
Tap the Speedi Sleeve over the shaft to where the damage is. In this case, the lead-in edge was 8mm from where the seal's tread is. I tapped the Speedi Sleeve at 7 mm over the shaft so that the seal has enough space to walk on.
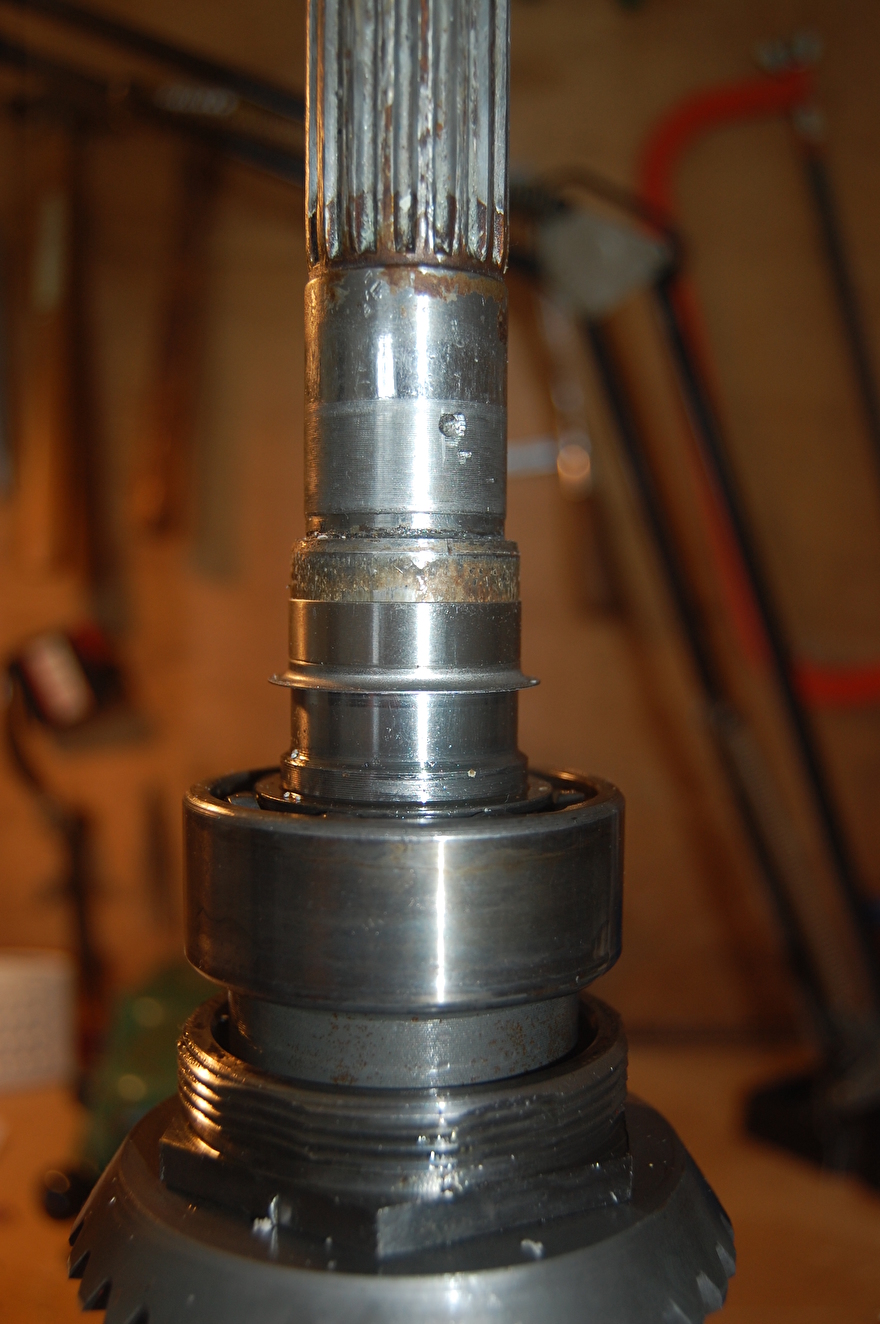
The Speedi Sleeve is in place.

Step 7.
Pull off the raised edge with pliers. The sleeve has a pre-cut edge so that the excess material can be easily removed.
Step 8.
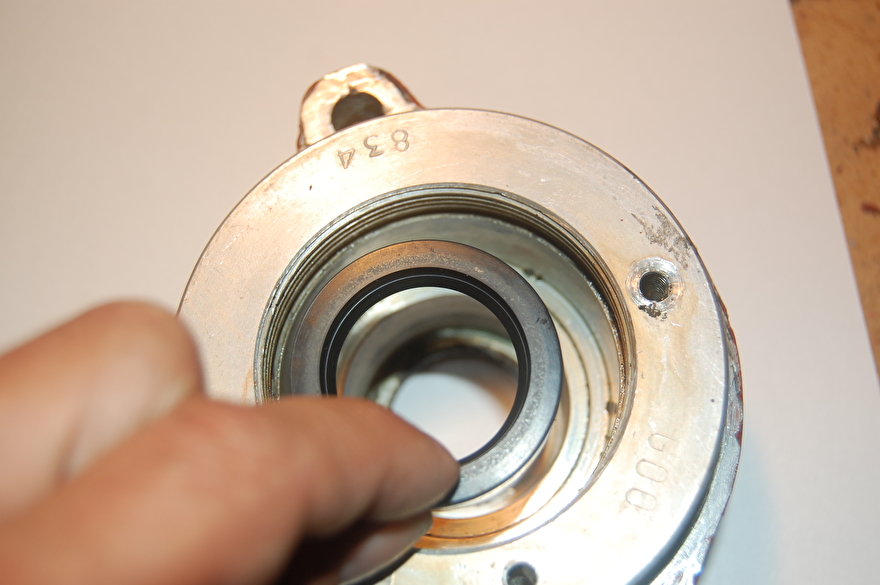
Place the first seal with the spiral down and tap it gently until it stops. BE CAREFUL not to tap the seal at an angle.
Step 8.
Place the first seal with the spiral down and tap it gently until it stops. BE CAREFUL not to tap the seal at an angle.
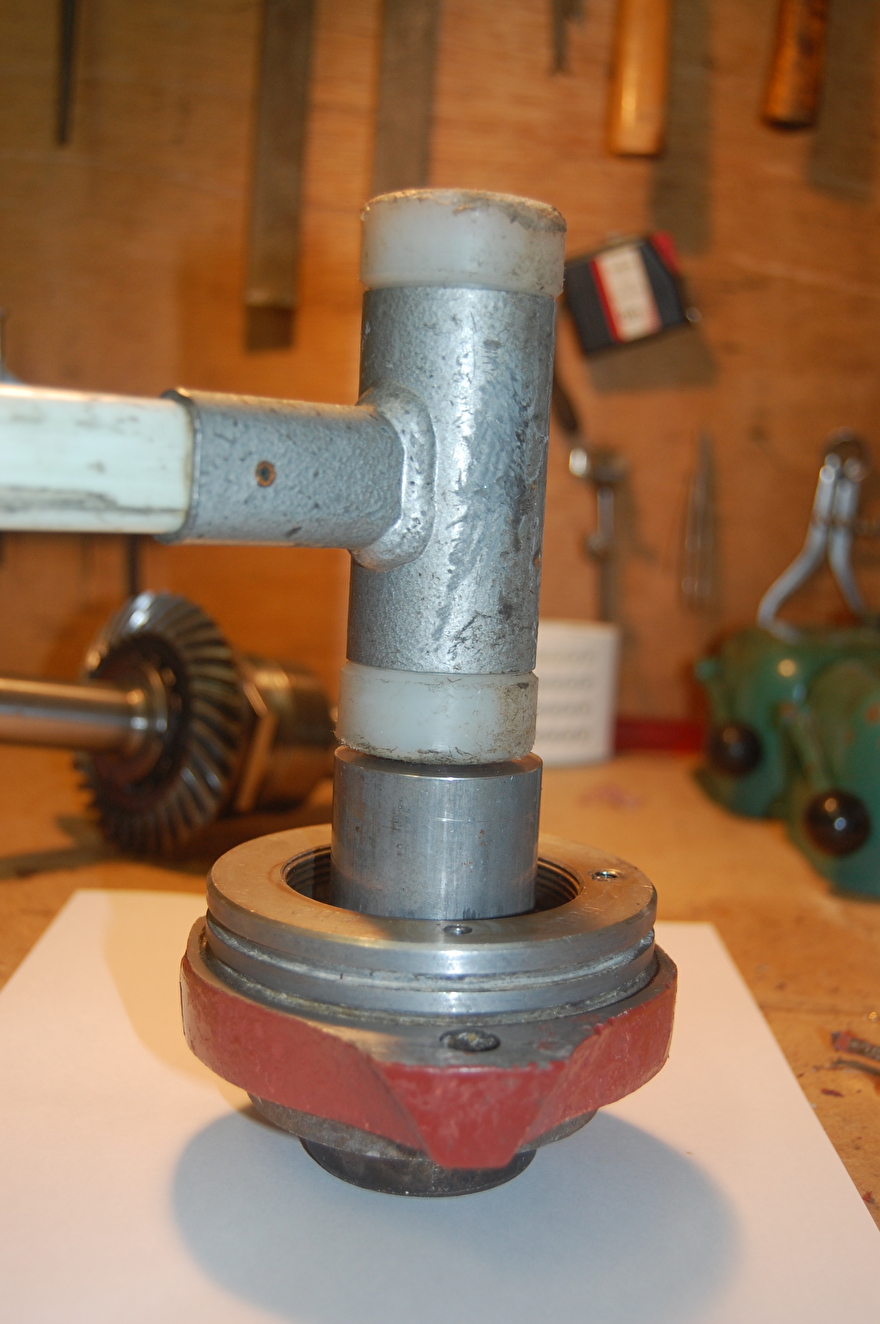
You can tap the seal in with a plug of around 45.
Step 9.
Put some grease on the first seal you placed and push the second seal in with the spiral upwards.

Step 10.
Tap the propeller shaft back into the housing.
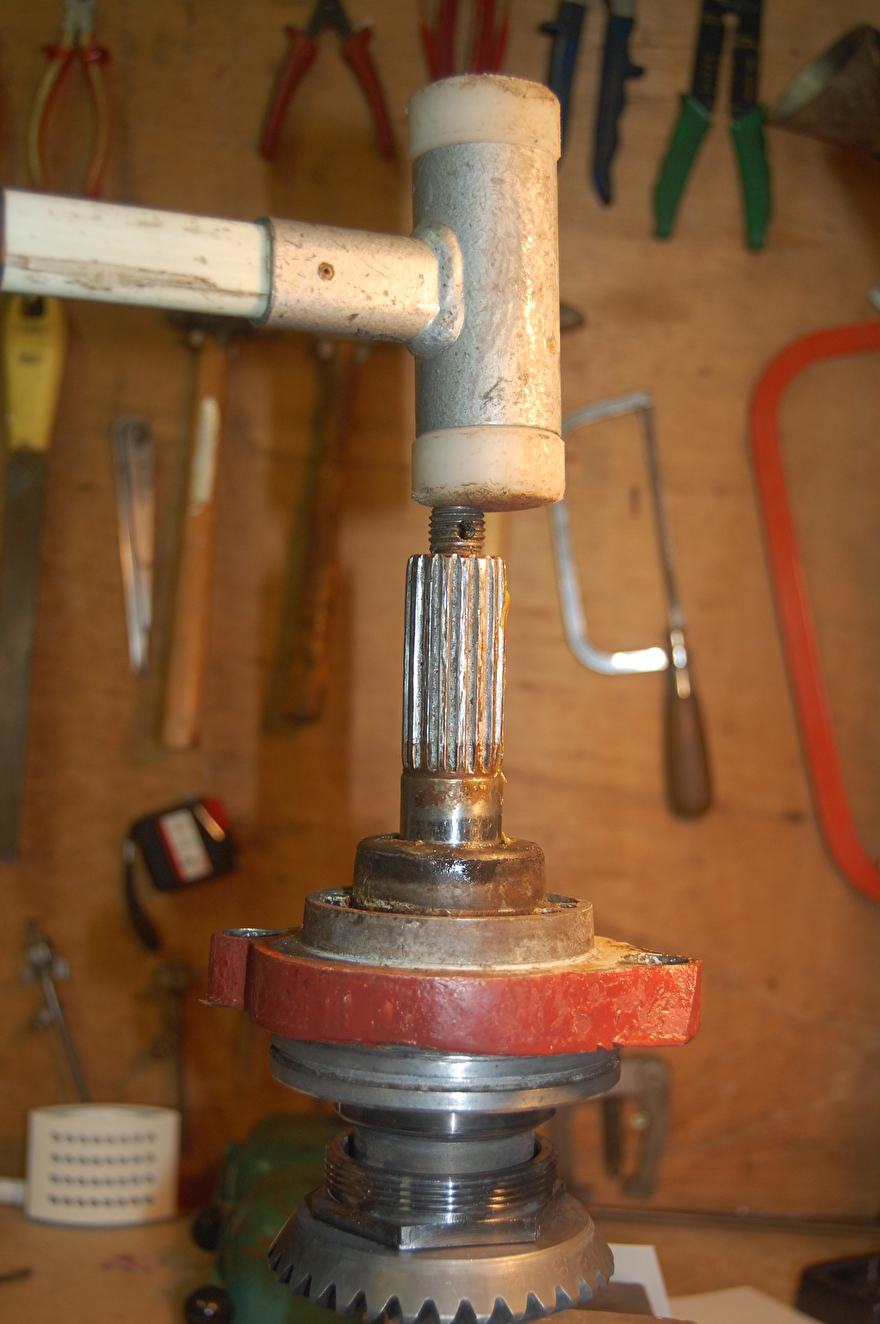
Step 11.
Tighten the hex nut and secure it with a screw.


Step 12.
Put some oil on the surfaces where the housing will be, this facilitates assembly, and replace the propeller shaft housing. Caution !, the gears must engage again. You do this by pressing the housing inwards and at the same time turning the propeller shaft, you automatically feel that everything is interlocking.
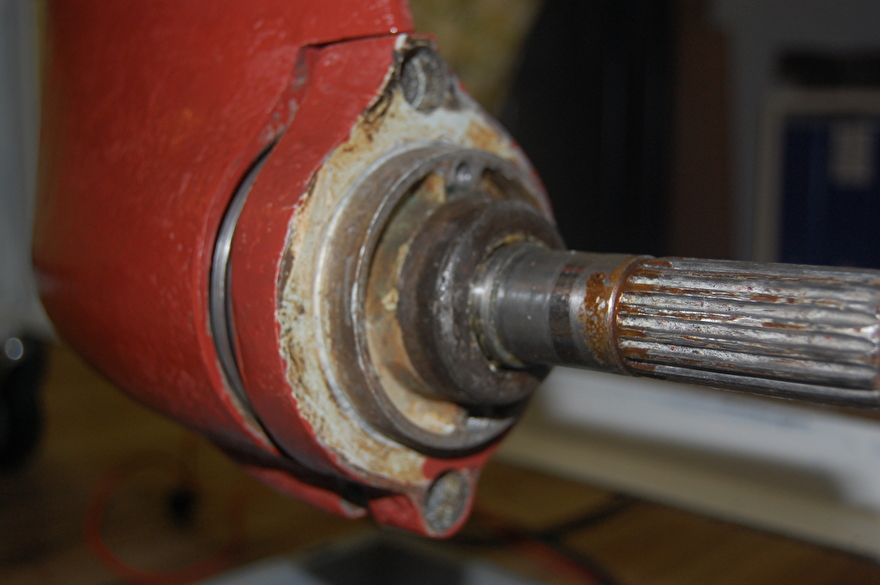
Step 13.
Re-tighten the Allen screws with the Allen key 8.
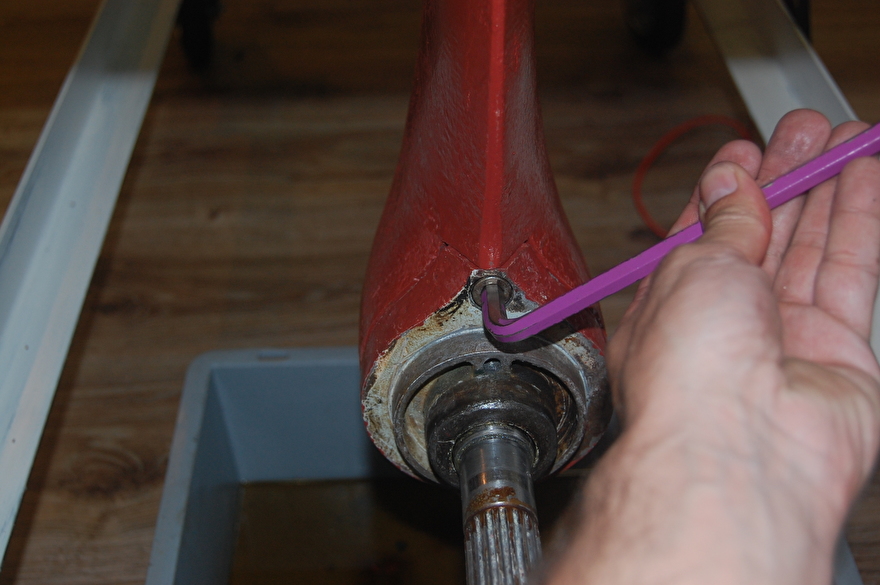
Step 14.
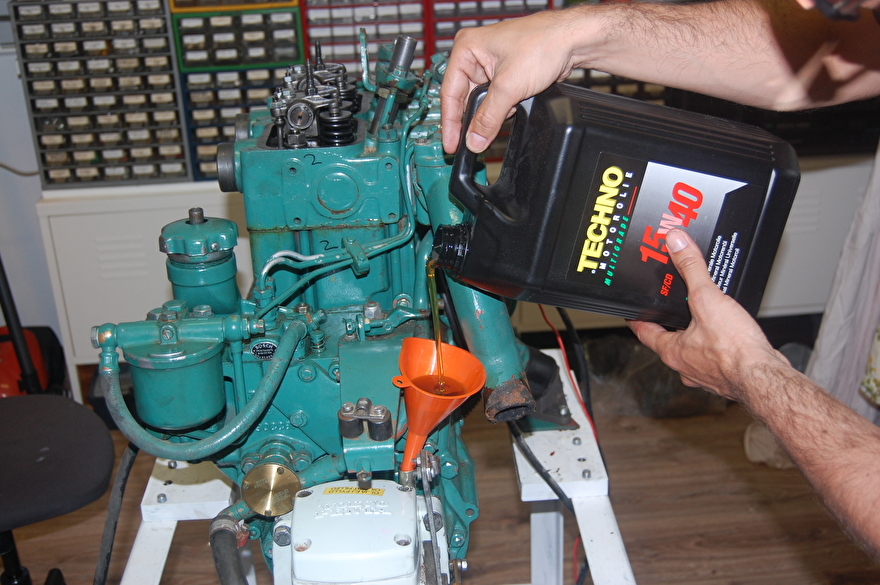
Refill the sail drive with oil.
