This page has been translated with google translate, there may be errors in the stories.
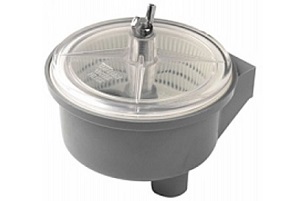
Weed filters come in different designs and sizes, but all have the purpose of preventing contamination of the cooling system. The most common weed filter is the one with a wing nut that holds the lid in place. This is a simple and good filter, but does need some attention on the seals, especially the O-ring under the wing nut can sometimes leak, causing air to enter the strainer and the system to suck false air. If you have such a filter, make sure you have a set of O-rings on board. You do not need any tools to tighten the wing nut, this nut only needs to be hand tight. However, if you tighten it, the lid will crack or crack itself and or damage the o-rings, causing an air leak. There should be a stainless steel ring under the wing nut and a plastic sealing ring on the central bolt under the cover. There is a rubber ring between the lid and the filter housing. When replacing the cover, make sure that the o-rings are properly seated in the grooves and are clean. Dried out O-rings that no longer seal should be replaced, but if they are not available, you can lubricate O-rings with Vaseline, making the filter (temporarily) airtight.
You can buy spare seals in the webshop of this site.
If you need a weed filter, you can find it with this link.
Cleaning is very easy.
Step 1. Close the sea cock.
Step 2. Loosen the wing nut and remove the cover
Step 3. Remove the weed filter.
Step 4. Clean the weed filter.
Step 5. Replace the weed filter and the lid with wing nut
Step 6. Open the outboard grain again


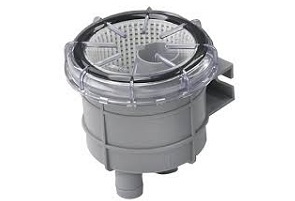
Seaweed filter with wing nut Seaweed filter with o-ring in lid


